 |
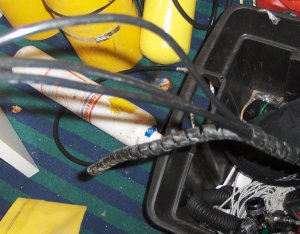
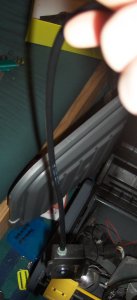
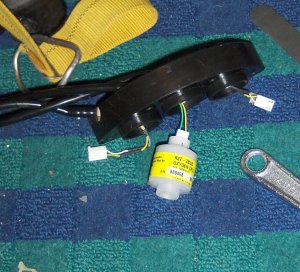
First thing, remove the kidney as described in a previous section then unwind the spiral wrapping round the cable bundle to allow the display case to fall free when it is unscrewed from the faceplate. |
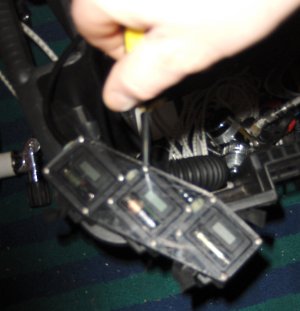 |
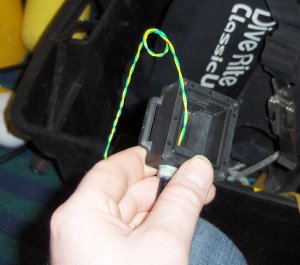
Undo the screws on the faceplate and pull the display case free from the set. |
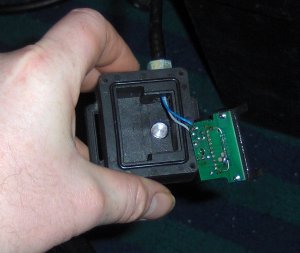 |
Pry the display from its case. With some of the really old displays then you need to remove the battery, remove the calibration port on the back and push the whole assembly out from the back. |
 |
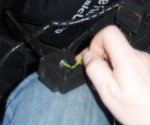
At
the kidney end, chop the molex connector off of the cable. Make
sure you have identified the right cable! Use a voltmeter or continuity
detector to double check if you are in any way unsure! At the display end, start pulling the old wiring out of the hose sheath. |
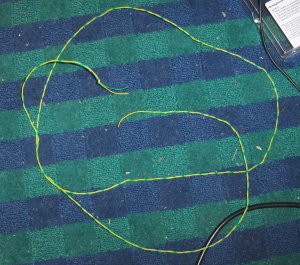 |
Prepare a new cable. Cut yourself a couple of lengths of thin gauge equipment wire, about 300mm longer than the length required. It makes life a lot easier if you use different colours of wire. Tie a knot in one end and hook that over a nail or something solid then twist the pair of wires together. The twisted wires become a lot stiffer which makes threading them into the hose easier. |
 |
Choose either the display or the kidney side to start on (it makes no difference) and insert the free end of the cable into the entry hole. |
 |
Keeping the hose as straight as possible, push the
cable as far along its length as you can. This job is a real pain, you
might have to twist the cable, pull it out and push it in again or have
half a dozen goes at it. When it reaches the hose barb at the end then it
can get stuck on this and getting it through the other side can take a few
attempts. Alternatively: if you have had enough of trying to get it from one end to the other then there is a plan B. This will only work if you have a bit of extra length in the hose sheath that you can live without. Choose an end and try to find the top of the hose barb with the back (blunt) edge of a scalpel. Slice about 2-3mm below this line, cut round the hose and pull it free of the barb. Cut the old piece of hose off the barb completely. Feed the cable through the hose as above and when the ends appear then feed them through the hose barb, tying a loose knot in the end to stop it pulling back through. Heat the end of the hose and push it back on to the barb. |
 |
If you haven't already done so then tie a loose knot in the free end. After all of that then the last thing you want is for the cable to fall back down the sheath. |
 |
At the kidney end, cut away the knot and even up the wire lengths. Fit new pins and molex connector as described in the other section on here and plug it into a good sensor. |
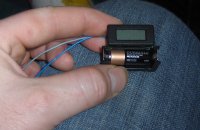 |
Take the display which you removed earlier and cut the existing wiring back to leave a 100mm or so tail on each lead. |
 |
You
need to know now which terminal on the cell should go to which terminal on
the display, otherwise you could get at best a "-" appearing on the
display or at worst a wrong reading from the cell. Strip the ends of the tails and splice them into the new cables. Doesn't have to be anything fancy as it is only a temporary splice. |
 |
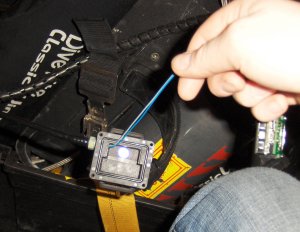
Hold the display against the magnet on the back of the case and check the reading. If the reading isn't showing a minus sign then note which new wire goes to which terminal on the board. If it is showing a minus then you will have to reverse the new wires. |
 |
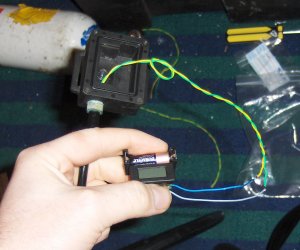
De-solder the old leads and re-solder the new
leads in the positions you noted in the previous
step. Alternative: the other way of doing it is to start at the display end, de-solder the old leads and replace with the new ones, doesn't matter which way round they go. At the kidney end, cut the new cable to the right length to give you just enough slack for the cell connection, fit a molex and hook the cell up. Turn the display on and if the minus sign doesn't appear then great, if it does then remove the molex and swap the leads round. It's up to you which way you go, I don't like refitting molexes after they've been removed, it's too easy to damage either the plug or the pins. |
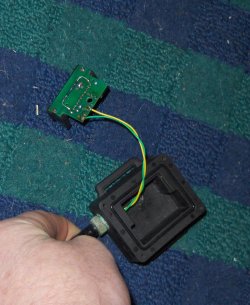 |
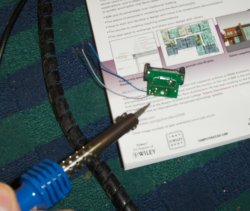
When you re-fit the leads on to the board then make
sure that you only leave just enough slack in the wires. The display shown
left has too much slack in it, you want a couple of cm at most. The
easiest thing to do is to pull it through to the sensor end and cut the
cable back, crimp on new pins and fit the molex back on (make sure you
know which way round the pins
go). |